Floors and Walls Built to Last
Tile installation in Mount Olive for homes needing durable, moisture-resistant surfaces that handle daily wear
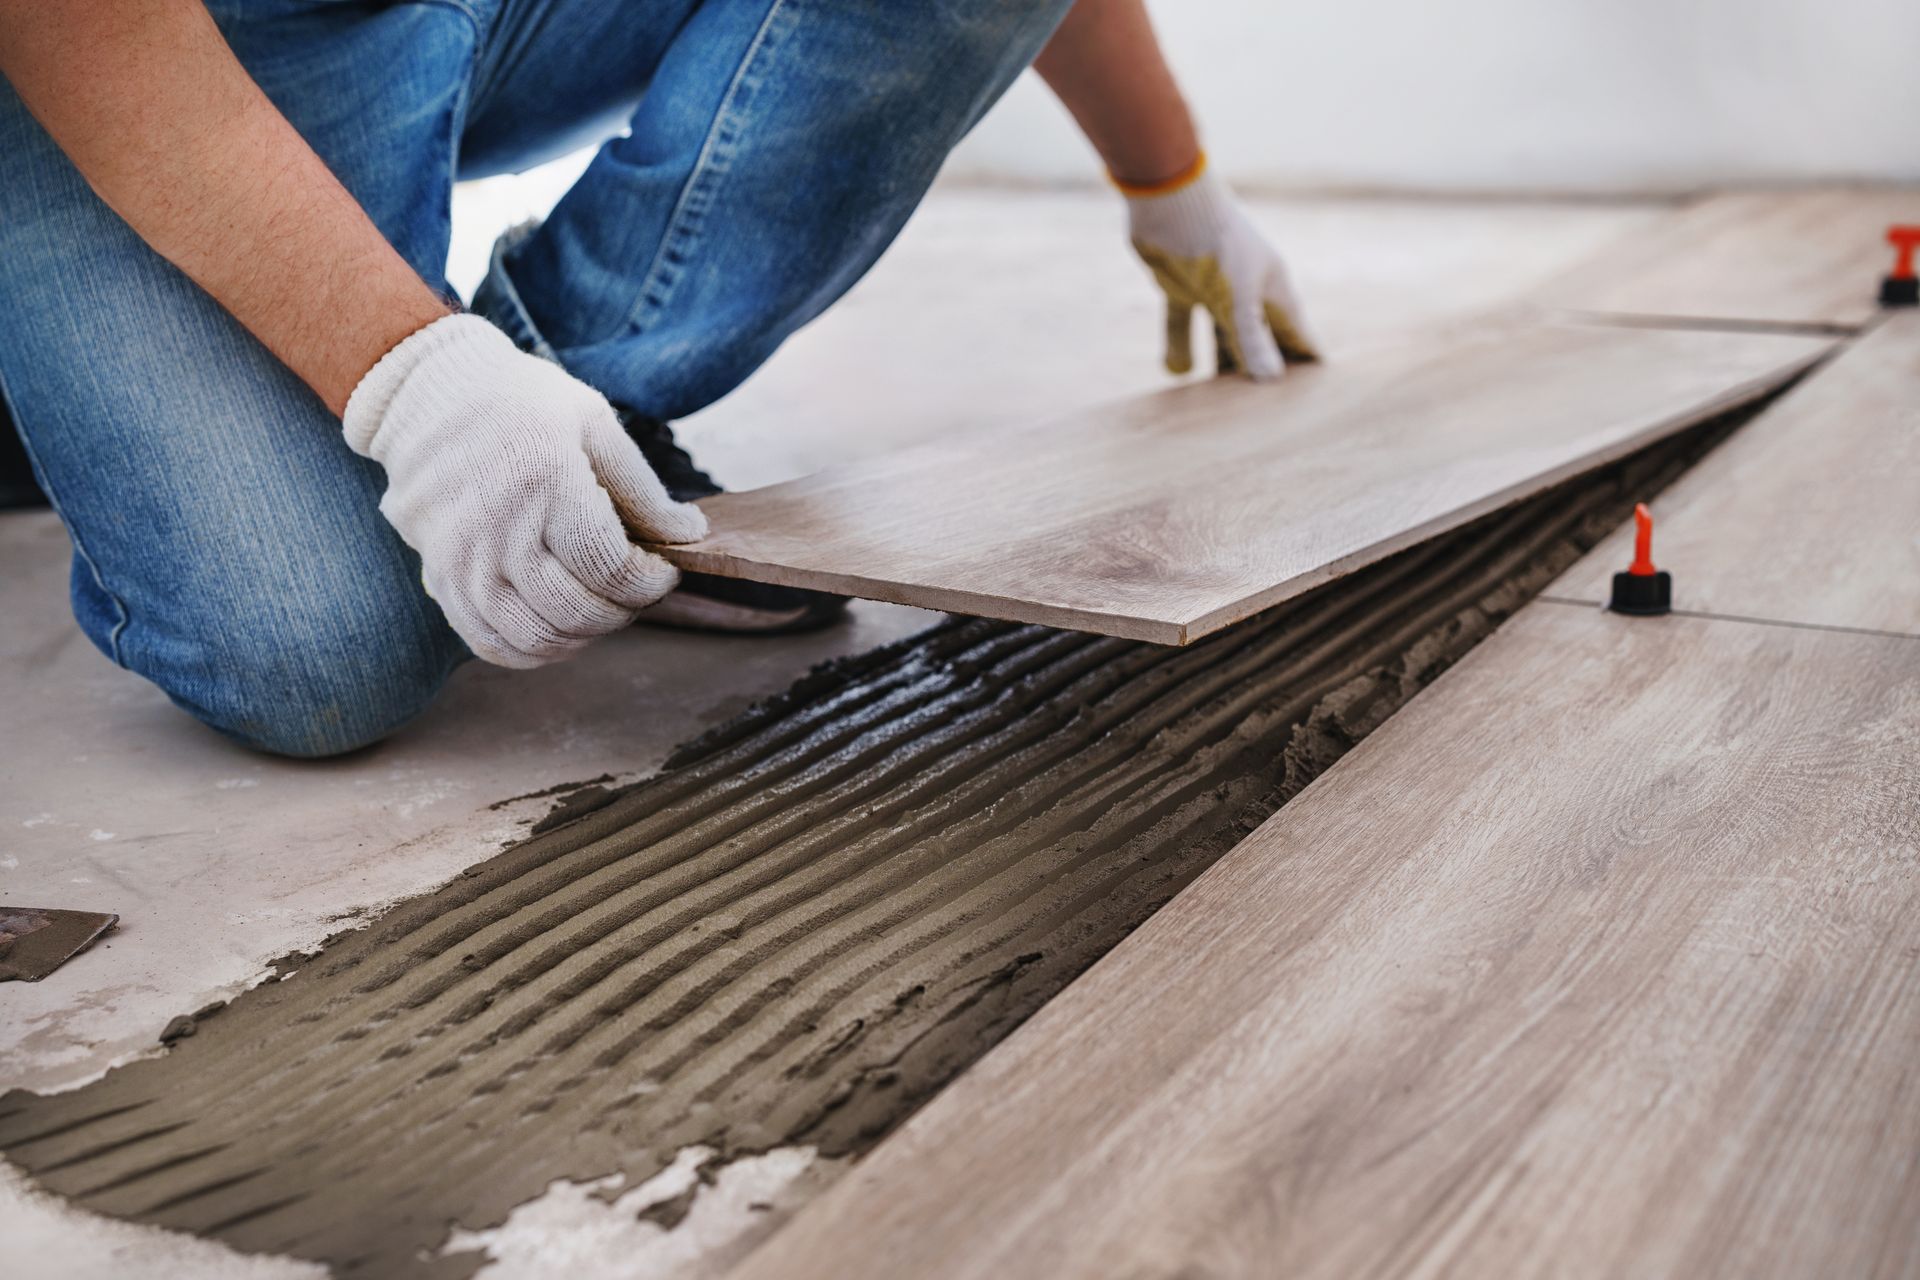
Jordans Tile Company, LLC handles tile installation across Mount Olive, working with ceramic, porcelain, and natural stone to create functional, long-lasting surfaces in kitchens, bathrooms, entryways, and other high-use areas. Proper surface preparation before the first tile goes down prevents the cracking and shifting that show up months later when substrate issues weren't addressed. Whether you're working with new construction or updating worn flooring and walls during a renovation, the installation approach stays the same: level substrate, clean layout lines, and precise cuts that produce tight grout lines and a polished finish.
The process begins with substrate evaluation—checking for level, structural integrity, and moisture conditions that affect adhesion. Uneven subfloors get leveled with compound, and walls are assessed for plumb and backing support, especially in wet areas where tile weight and moisture exposure demand solid framing and proper backer board. Layout lines are established based on room geometry and focal points, so tile patterns align visually and cuts fall in less visible areas. Thinset mortar is troweled to the right depth for the tile size, and spacers maintain consistent grout joints across the entire installation.
Schedule a consultation to walk through material options and discuss how layout decisions affect the final appearance of your project.
What Proper Tile Installation Requires
Substrate preparation determines how long the installation lasts—tiles installed over uneven or flexing surfaces will crack at grout lines or pop loose as the substrate moves beneath them. Backer board in wet areas provides a stable, moisture-resistant base that prevents the softening and deterioration you see with drywall exposed to steam and splash. Layout planning before any cutting begins means fewer small slivers along edges and symmetrical patterns that look intentional rather than random.
Once the tile is set and cured, you'll notice grout lines that run straight without lippage where tile edges don't align, corners that meet cleanly without gaps, and a surface that feels solid underfoot without hollow spots that indicate voids in the thinset. Natural stone installations show consistent color progression if the installer dry-lays and sequences tiles before setting them, and patterned layouts reveal whether cuts were planned or improvised. The difference between a quick installation and careful work shows up in how the room reads visually—whether your eye catches misaligned grout joints or follows clean lines across the space.
The installation includes surface prep, layout, setting, and grouting, but doesn't cover plumbing relocation, structural floor repair, or removal of multiple layers of old flooring that require additional demolition time. If the existing floor has significant deflection or the subfloor needs replacement, that work happens before tile installation begins. Tile selection affects installation time—large-format tiles cover space quickly but require flatter substrates, while smaller mosaics involve more detailed layout and grouting.
What Homeowners Usually Ask
Tile installations bring up practical questions about preparation, materials, and how the work affects daily routines in your home.
What preparation happens before tile installation starts?
The existing surface is removed if necessary, the substrate is checked for level and structural soundness, and any needed repairs or backer board installation is completed so the tile has a stable base that won't shift.
How do you prevent cracks in tile floors?
Proper substrate preparation, including leveling compound on uneven areas and ensuring the subfloor doesn't flex, prevents the movement that causes tiles to crack along grout lines or pop loose over time.
What's the difference between ceramic and porcelain tile for floors?
Porcelain is denser and less porous, making it more resistant to moisture and staining, which matters in bathrooms and entryways where water exposure is frequent in Mount Olive homes.
When should grout be sealed after installation?
Grout typically needs 48 to 72 hours to cure fully before sealer is applied, and sealing is especially important in wet areas to prevent moisture penetration and staining.
Why do some tiles need different thinset than others?
Large-format tiles and natural stone often require modified thinset with stronger bond strength, while smaller tiles and certain glass mosaics work with standard thinset, so matching mortar to tile type prevents installation failures.
Jordans Tile Company, LLC works with homeowners throughout Mount Olive on tile projects that range from single-room updates to whole-home installations. Request an estimate to review material options and get a timeline based on your project scope.